
In WordPress, permalinks play a crucial role in defining the structure of your website’s URLs. Changing the permalink structure can improve your site’s search engine optimization (SEO) and make your links more user-friendly.
If you want a tool that helps you brand, shorten, and track those URLs or links across your marketing efforts, Replug.io is a very strong choice.
This guide will walk you through the process of changing permalinks in WordPress by providing step-by-step instructions.
Let’s dive in!
Here’s how to change Permalink in WordPress
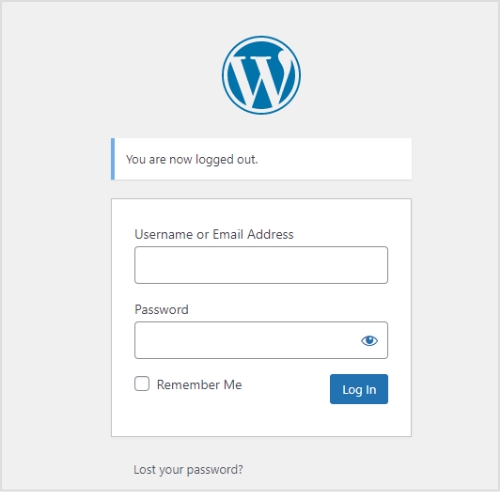
Step 1: Log in to your WordPress admin dashboard
To begin, log in to your WordPress admin dashboard using your credentials. Once logged in, you’ll have access to the necessary settings to modify your permalink structure.
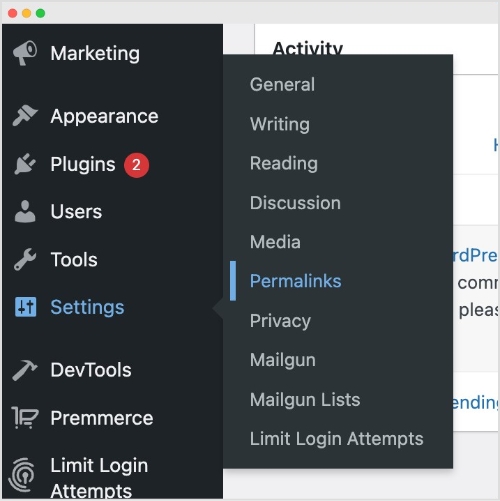
Step 2: Access Permalink settings
From the left-hand menu, locate and click on “Settings,” and then select “Permalinks.” This action will take you to the Permalink Settings page, where you can customize your Permalink structure.
Step 3: Choose a common Permalink structure or create a custom one
On the Permalink Settings page, you’ll find various pre-defined options for permalink structures, including plain, day and name, month and name, numeric, post name, and more. Select the one that best suits your needs. If you prefer a custom permalink structure, proceed to Step 4.
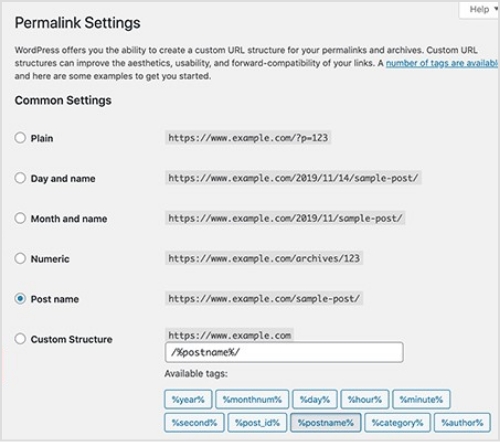
Step 4: Create a custom Permalink structure (optional)
If you want a custom permalink structure, select the “Custom Structure” option on the Permalink Settings page. This will reveal a text field where you can enter your desired permalink structure using tags. Utilize tags like %year%, %monthnum%, %day%, %post_id%, %postname%, %category%, %author%, and %pagename% to craft a unique permalink structure.
Step 5: Save changes
After selecting a common or custom permalink structure, click on the “Save Changes” button located at the bottom of the Permalink Settings page. By doing so, your new permalink settings will be saved, and WordPress will automatically update the URLs accordingly.
Note: Once you’ve updated your permalinks, it’s smart to run your links through a reliable link shortener. This way, you can create clean, branded URLs and also track how often they’re clicked without any hassle!
Trending:
Frequently asked questions

Arslan Jadoon
