![How to block a URL in Chrome: 8 effective & proven methods [tried & tested]](/_next/image?url=https%3A%2F%2Finternal-blog.replug.io%2Fwp-content%2Fuploads%2F2023%2F03%2FHow-to-block-a-URL-in-Chrome-8-effective-proven-methods-tried-tested.png&w=3840&q=100)
Have you ever tried opening a website in Chrome only to wish you could block it forever? Whether it’s distracting socials, sketchy sites, or pages you just shouldn’t see at work or home, unwanted URLs are a daily headache for millions.
In fact, organizations now block roughly 100 million malicious URLs every single day to protect users from threats like malware and URL phishing.
But here’s the catch!
Without the right tricks, Chrome won’t stop you from visiting those sites, leaving you stuck clicking away or stressing over digital distractions.
That’s why learning how to block URLs isn’t just a neat skill; it’s essential for productivity, safety, and peace of mind.
Ready to fix this once and for all? Let’s dive into the effective strategies to block a website in Chrome that actually work.
Proven methods to block a URL in Chrome
Before we jump into all the possible ways you can block a URL in Chrome, let’s start with the easiest and most user-friendly option for most people.
If you don’t want to mess with settings or techy stuff, using a browser extension like “BlockSite” makes the whole process quick and painless.
Method #01: Using a Chrome extension named BlockSite (recommended for most users)
BlockSite makes blocking URLs in Chrome super simple, no matter if you’re trying to avoid distractions or keep certain content away.

- Install the extension: Open Chrome and head to the Chrome Web Store. Search for BlockSite – Block Websites & Stay Focused and click Add to Chrome. This will install the extension right into your browser.
- Open BlockSite: Once installed, you’ll see its icon near the address bar (if you don’t, click the puzzle 🧩 icon and pin it). Next, click the icon to launch BlockSite.
- Skip extras or log in: You might be asked to accept data permissions or choose a subscription plan. You can grant permissions, skip the paid plan, and still block URLs just fine with the free version.
- Add the URL to block: Go to the Block Sites tab and type or paste the URL you want to block. Then hit the plus (+) button or Add Item. BlockSite will now stop Chrome from opening it.
- Block while browsing: If you’re already on the site you want gone, just click the BlockSite icon and choose Block this site. Super easy!
- Manage blocked sites: Want to unblock something later? Just go back to the BlockSite dashboard and remove it from your list.
You’ll learn even more effective methods next!
Method #02: Using Developer Tools (advanced/temporary)
If you’re comfortable opening Chrome’s built-in tools and want a quick, temporary way to block specific URL requests, the Developer Tools Network blocking feature is handy.
- Open the page you want to block something on: Go to the site where the URL you wish to block loads.
- Open Developer Tools: Press Ctrl + Shift + I on Windows/Linux or Cmd + Option + I on Mac. This opens the DevTools panel.
- Go to the Network tab: At the top of DevTools, click Network. This lets you see all network requests (such as images, scripts, and APIs).
- Reload the page: Refresh the page to have Chrome log every request in the Network panel. This causes the URL you want to block to appear in the list.
- Find the URL request: Scroll through the list and look for the specific URL (or resource) you want to block.
- Block it: Right-click on that request and choose Block request URL (or “Block request domain” if you want to block everything from that domain). Chrome will add it to the Network Request Blocking list.
- Keep DevTools open: As long as DevTools stays open and the “Enable network request blocking” option is checked, Chrome won’t load that URL. An excellent choice for testing or temporary blocking.
This method is incredible for debugging or testing things on a page without installing anything extra. Just remember it’s not a permanent block, and only works while DevTools is active.
Ready for the next method? Let’s go!
Method #03: Using Google Admin Console (for enterprise/education)
If your organization or school manages Chrome using Google Workspace (formerly G Suite), the Google Admin Console lets you block specific URLs for users across all managed Chrome browsers and ChromeOS devices.
This is super useful for stopping access to distracting or harmful sites without relying on individual extensions.

Here’s how to do it:
- Sign in to the Admin Console: Open your browser and go to admin.google.com. Log in with your administrator account. (Note: you’ll need admin rights to make these changes.)
- Head to Chrome settings: From the main dashboard, go to Devices → Chrome → Settings → Users & browser settings. This is where most Chrome policies live for managed users.
- Select who this applies to: On the left side, choose the organizational unit (OU) you want the block rule to apply to, e.g., a whole department or student group.
- Find URL blocking: Scroll down (or use the search box) to find “URL Blocking” under the Content section.
- Add the URLs you want to block: In the Blocked URLs field, type or paste the links you want to block; each on its own line. You can enter up to 1,000 URLs here.
- Optionally allow exceptions: If you want to allow some sites even if they’re on the blocklist, use the Blocked URL exceptions field. This lets you create safe exceptions.
- Save your changes: Click Save at the bottom or top to apply the policy. Chrome will start blocking those URLs for users in that OU (usually within a few minutes).
This Admin Console method is ideal when you’re managing many users, like in a business or school, and want a centralized way to enforce rules across the board.
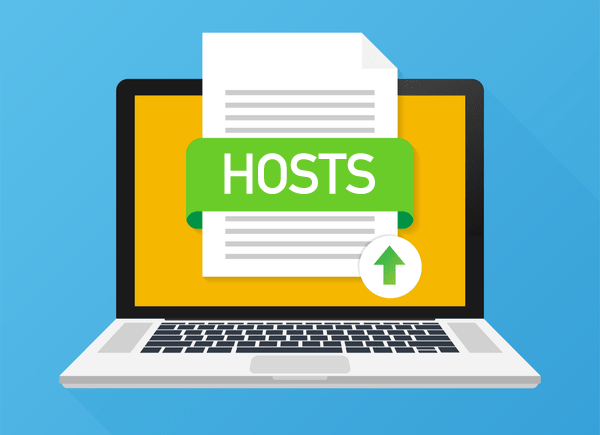
Method #04: Using the hosts file
Want a system-level way to block a URL in Chrome (and all other browsers) without extensions?
Editing your computer’s hosts file is a classic, no-extra-software method. It works by telling your operating system to redirect a particular website to your own computer (which doesn’t serve that site), so the site never loads when you try to visit it.
Here’s how to block a URL in Chrome (PC) step-by-step:
🪟 On Windows (10/11)
1. Open Notepad as admin: Search for Notepad, right-click it, and choose Run as administrator. This is essential to save changes later.
2. Open the hosts file: In Notepad, go to File → Open, then navigate to:
C:\Windows\System32\drivers\etc
If you don’t see anything, change the file type dropdown to All Files (.)
3. Add the sites you want to block: At the bottom of the file, type:
127.0.0.1 example.com
127.0.0.1 www.example.com
Replace example.com with the site’s address you want to block (include both “www” and “non-www” lines).
4. Save the file: Hit Ctrl+S to save. You might need to confirm administrator access.
5. Restart Chrome: Close and reopen your browser. If the site still loads, you can flush your DNS cache (search “cmd” → run as admin, then enter ipconfig /flushdns).
🍎 On Mac (macOS)
1. Open Terminal: Hit Command + Space, type Terminal, and hit Enter.
2. Edit the hosts file: Type this.
sudo nano /etc/hosts
Press Enter, then type your password when prompted.
3. Add the block entries: At the end of the file, add:
127.0.0.1 example.com
127.0.0.1 www.example.com
Replace example.com with the site you want to stop people from reaching.
4. Save and exit: Press Control + O to save and Control + X to exit. Then flush the DNS cache:
sudo dscacheutil -flushcache
sudo killall -HUP mDNSResponder
💡 Quick tip: This method blocks sites on a system level, but it doesn’t stop someone from using a VPN or proxy to bypass it. And in rare cases, Chrome might ignore the hosts file if Secure DNS is enabled. When you want to undo it later, just remove the lines you added or comment them out with a # and save again.
Next up, let’s look at how to block URLs directly via parental controls.
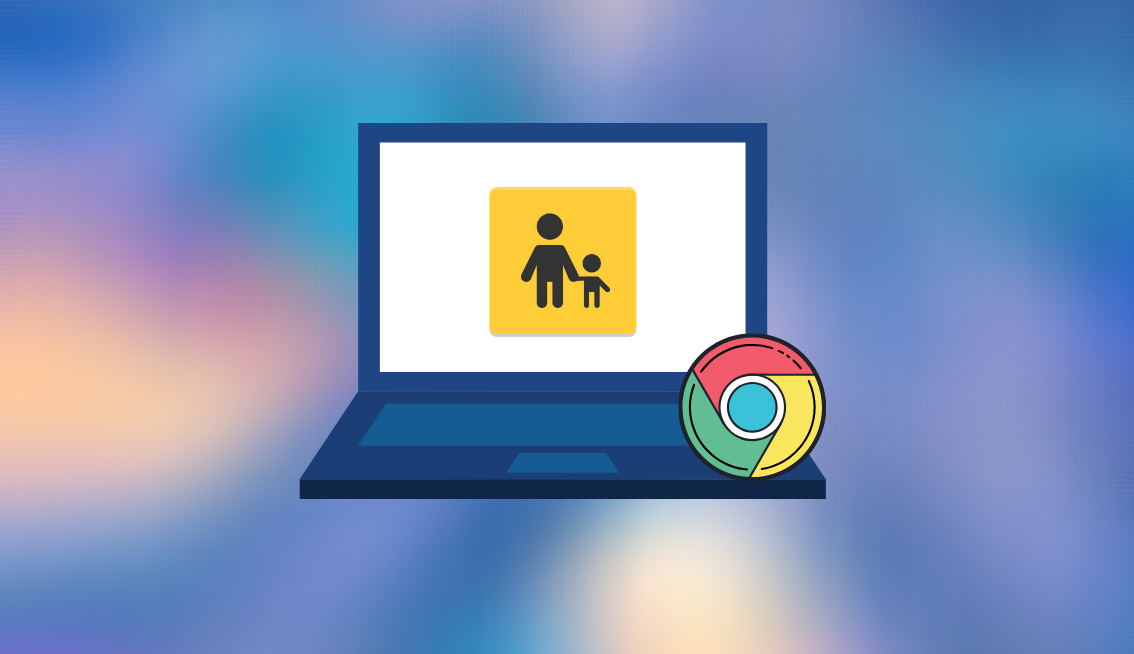
Method #05: Using parental controls
If you want to block specific URLs on Chrome without extensions, and especially if you’re doing this for kids or other users, built-in parental controls are a solid way to go.
These tools let you filter sites, block particular URLs, and manage what content can be viewed, and unlike browser extensions, they usually work across all browsers on that device.
Here’s how to do it step-by-step:
1. Decide which parental control tool to use:
- On Chromebooks and Android devices, Google Family Link is the go-to option.
- On Windows 11, you can use the built-in Family Safety controls.
- On macOS/iPhone/iPad, Apple’s Screen Time lets you block sites at the system level (applies to Chrome too).
2. Set up a child account (if needed): For tools like Google Family Link or Windows Family Safety, you’ll usually create a child profile first. This lets you apply restrictions to that account without affecting your own.
3. Open the parental control settings:
- Google Family Link: Open the app → select your child’s profile → go to Manage settings → Filters on Google Chrome → Manage sites.
- Windows Family Safety: Go to Settings → Accounts → Family & other users, choose the child account, then adjust Content filters → Blocked sites and add URLs.
- Screen Time on Apple devices:Go to Settings → Screen Time → Content & Privacy Restrictions → Web Content → Limit Adult Websites or Allowed Websites Only, and add the URLs you want to block.
4. Add the URLs you want to block: Inside the parental control dashboard, there’s usually an option like “Blocked sites” or “Never allow” where you paste the complete website addresses you don’t want the user to access.
5. Save and test: Once you save the changes, try opening those sites in Chrome. They should now be blocked according to your settings. If you’re on a child’s account, they won’t be able to access the blocked pages without permission.
Note: Tools like Google Family Link also let you switch to only allowing approved sites, which is even stricter than just blocking a few URLs. Using parental controls gives you a more reliable block than a browser extension, especially if the user isn’t tech-savvy and might uninstall the blocker themselves.
Method #06: Using match pattern with Chrome
If you’re a bit more technical and want to block groups of URLs instead of typing every single address, using URL match patterns can be effective.
Match patterns let you define wildcard rules (like “block everything from this domain or path”) that extensions can use to block sites in Chrome.
Note: This isn’t something built directly into Chrome’s basic settings, so you’ll use an extension that supports URL patterns to block links based on rules you define.

Follow along with these steps:
1. Choose a blocker extension that supports patterns: Search the Chrome Web Store for a URL-blocking extension that lets you enter pattern rules (some blockers call them wildcards or pattern filters). Many extensions let you block based on text or pattern matches.
2. Install the extension: Click Add to Chrome → Add extension. Once installed, pin it next to your address bar so it’s easy to open.
3. Open the extension’s settings: Click the extension icon and go to its options or settings page. This is usually where you add URLs or patterns you want to block.
4. Learn the match pattern basics: Chrome match patterns generally follow a simple rule:
<scheme>://<host>/<path>
Scheme is usually http, https, or * (to match both),
host can be exact (example.com) or use wildcards (*.example.com),
and path often ends with /* to match anything under that path.
5. Enter your patterns: In the blocker’s field, add patterns like:
- *://*.example.com/*: Blocks any secure/insecure page on example.com or its subdomains
- https://site.com/path/*: Blocks everything under that specific path
These patterns tell the extension which sites to catch when you or someone else tries to open them.
6. Save and test: Hit Save or Apply, depending on the extension. Try visiting a page that fits your pattern. If it’s blocked, your rule works!
7. Tweak as needed: You can add more patterns or edit existing ones. If a site still loads, adjust your pattern (for example, include a wildcard, such as *, to catch subdomains).
💡 Quick tip: Using patterns lets you block many pages at once without typing every URL individually. This is the perfect option if you want to block an entire blog, shopping site, or any group of pages that follow the same structure. Just make sure the extension you choose supports this type of pattern input.
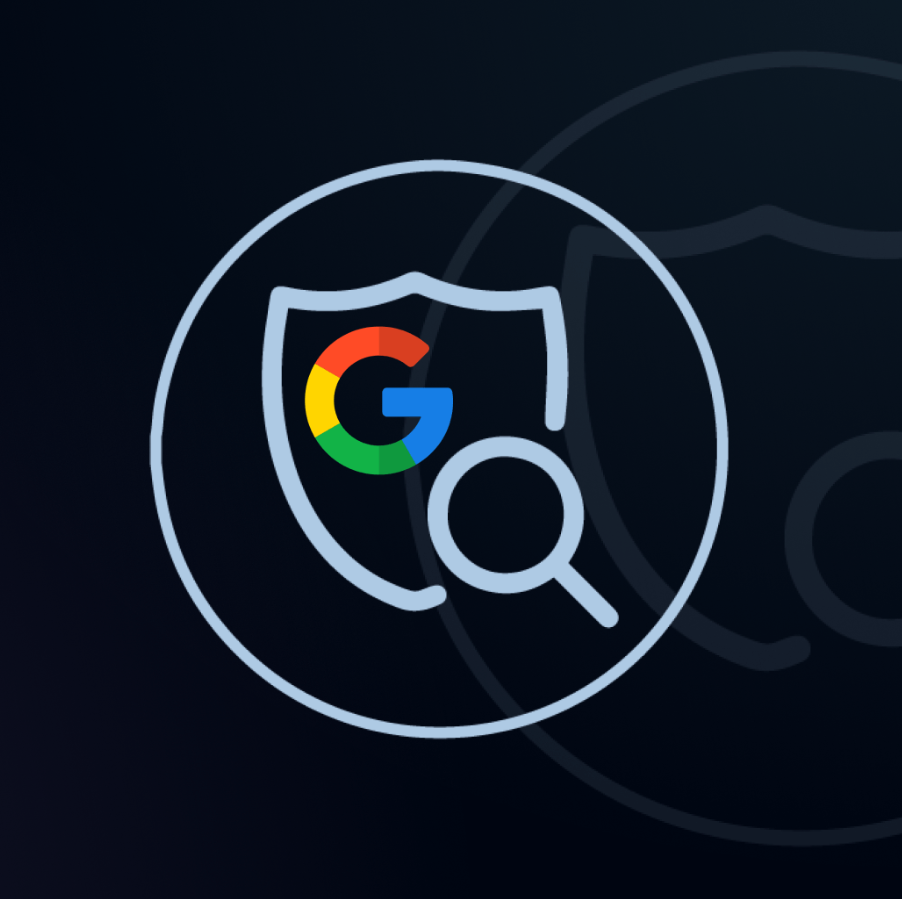
Method #07: Using Chrome’s SafeSearch feature
If your goal is less about blocking specific URLs and more about filtering out inappropriate or explicit content from your Google Search results in Chrome, then SafeSearch is a simple built-in way to do it.
It doesn’t block websites outright, but it does help keep search results cleaner by filtering out adult or offensive content (great for kids, work, or just a safer browsing feel).
Here’s a stepwise walkthrough:
- Open Google in Chrome: Launch Chrome and go to www.google.com.
- Go to SafeSearch settings: On desktop, scroll down the page and click Settings, then Search settings. Alternatively, you can visit www.google.com/preferences directly.
- Turn on SafeSearch: In the SafeSearch filters section, check the box next to “Turn on SafeSearch” to filter out explicit content from Google Search results.
- Save your settings: Scroll to the bottom and click Save to apply the change.
- Lock SafeSearch (optional): If you’re doing this for kids, you can lock SafeSearch, so others can’t turn it off. You’ll need to be logged in to your Google account to do it.
Note: Just keep in mind that SafeSearch only affects Google Search results. It won’t stop people from visiting a site directly by typing its URL or clicking a link. This is a simple way to make Chrome searches safer before moving on to more advanced blocking techniques!
Method #08: Using the BlockList URL feature
If you’re managing Chrome across a business, school, or any organization, you can use Chrome’s URLBlocklist/URLAllowlist policies to block specific websites for all users.
This method isn’t something you do in the ordinary Chrome settings. It’s for admins who need a central, enforceable block using Group Policy (GPO) on Windows or JSON policy files on other systems.

Here’s how to get it done:
- Get the Chrome policy templates (for GPO): First, download the latest Chrome Enterprise policy templates from Google’s official bundle. These include the ADMX/ADML files you’ll use in the Group Policy Editor.
- Load the ADMX templates into GPO: Open Group Policy Management Editor → go to Administrative Templates → Add/Remove Templates and import the Google Chrome ADMX files. Once loaded, you’ll see a Google → Google Chrome section under policies.
- Configure URLBlocklist via GPO: Under Google → Google Chrome, find Block access to a list of URLs. Enable the policy and add the URLs you want to block (one per line). Chrome will prevent users from visiting these sites.
- Use URLAllowlist to make exceptions (Optional): Still in GPO, enable Allow access to a list of URLs and add URLs that should be accessible even if they match the block pattern. This override sits above the block rules!
- Deploy and refresh policies: Apply the GPO to your target machines/users. On managed devices, users may need to restart Chrome, and you can verify it by checking chrome://policy in the browser. It should show “URLBlocklist” and “URLAllowlist” with status “OK.”
Now, using JSON policy files (for macOS, Linux, or managed devices)
If you’re not using Group Policy, e.g., on macOS, Linux, or Chrome managed outside of Active Directory, you can define the same settings in a “JSON file”.
Here’s what to do:
1. Create a JSON file in the managed policy folder: For Chrome on Linux/macOS, place a file inside /etc/opt/chrome/policies/managed/ (or the equivalent managed directory).
2. Add your blocklist/allowlist entries: Make the policy JSON look like this:
{
“URLBlocklist”: [
“https://badsite.com”,
“https://anotherbad.com”
],
“URLAllowlist”: [
“https://goodsite.com”
]
}
This tells Chrome to block sites in “URLBlocklist” and allow those in “URLAllowlist”, with the allowlist taking precedence.
3. Restart Chrome: Once the file is in place and properly formatted, restart Chrome to apply the changes.
Note: Blocking URLs this way is enforceable from the admin side. Users can’t easily remove the block because it’s based on your organization’s policies. And if you’re using both blocklist and allowlist together, remember that allowlist entries will override blocklist rules when a URL matches both. This approach is perfect for schools, workplaces, or any environment where you need a consistent, managed block across many users.
How to block a URL in Chrome (Android)
Chrome on Android doesn’t let you block sites directly inside the browser. One of the best ways to filter and block websites (including specific URLs) is by configuring your phone’s Private DNS with a service like “NextDNS”.
This makes all your device’s DNS lookups go through NextDNS, where you can set up blocklists that stop unwanted sites from resolving.
Here’s how to set up Private DNS with NextDNS:
- Sign up for a NextDNS account: Go to https://nextdns.io/ and create a free account. Once you’re signed in, make a configuration profile (for example, “Android”). After you do that, NextDNS will give you a unique DNS-over-TLS (DoT) endpoint. It looks like xxxxxx.dns.nextdns.io.
- Add URLs you want to block in the NextDNS dashboard: In your NextDNS account online, use the Blocklists, Denylist, or Custom rules settings to add the websites or domains you want to prevent from loading on your phone. NextDNS lets you block entire domains (like example.com) and also more advanced rules if needed.
- Open Android Settings: On your Android phone, open Settings → Network & internet → Private DNS. (The exact path can vary slightly on different brands, but it’s usually under “Network & Internet”.)
- Choose “Private DNS provider hostname”: Tap Private DNS provider hostname and paste in the NextDNS endpoint you copied from the NextDNS dashboard (xxxxxx.dns.nextdns.io).
- Save and exit: Tap Save to apply the change. Your phone will now use NextDNS for all DNS lookups, including in Chrome. Any sites you’ve blocked in your NextDNS settings won’t load in the browser.
- Test it: Try visiting a blocked URL in Chrome. If everything’s set up correctly, the site should fail to load (or be filtered) because NextDNS is now handling and blocking those DNS requests based on your rules.
✔️ Why this works: Android’s Private DNS feature (available on Android 9 and later) lets you specify a secure DNS provider, and when you set it to a service like NextDNS with blocklists configured, you essentially filter and block sites before the browser even tries to load them.
Note: Some networks or carriers may interfere with custom DNS, so if you have connection trouble, check your DNS hostname spelling or switch back to “Automatic” and try again. This setup works for all apps and browsers on your Android device (not just Chrome) and gives you a flexible way to block unwanted URLs without a separate app continuously running in the background.
How to block a URL in Chrome (iPhone)
Because iOS doesn’t let you block sites directly inside Chrome, the best solution is to use an app like “Freedom,” which can block websites system-wide (including in Chrome) by starting a blocking session with your custom site list.

Using Freedom to block URLs on iPhone:
1. Download Freedom from the App Store: Open the App Store, search for “Freedom: Screen Time Control”, and install it on your iPhone. This app is designed to block distracting apps and sites across your device.
2. Sign in or create an account: Open the Freedom app and log in with your email. If you don’t have an account yet, you can create one right from the app.
3. Give screen time permissions: Freedom uses Apple’s Screen Time settings to block apps and websites. When prompted, tap Allow Screen Time and follow the iOS prompts to grant the app the permissions it needs. This step is required for the app to block URLs inside browsers like Chrome.
4. Create a blocklist:
- Tap the Blocklists tab in the app.
- Tap Add New Blocklist to make a custom list.
- On the blocklist screen, scroll until you see options to add websites.
- Enter the exact, unique URL you want to block (e.g., example.com).
- Add more URLs if needed, then tap Save.
5. Start a blocking session:
- Go to the Start Session tab.
- Choose the blocklist you just created.
- Pick your session length (how long the block should stay active).
- Tap Start. Freedom will now block the sites in that list on your iPhone (including in Chrome) for the duration of the session.
6. Test it in Chrome: Open Chrome and try to visit one of the blocked URLs. Freedom should stop the site from loading and show a block screen instead.
Note: Freedom uses your iPhone’s Screen Time system and, optionally, a local VPN or profile to enforce blocks, so please make sure you grant the permissions it requests. You can edit or add new blocklists at any time and start new sessions to keep unwanted sites blocked whenever you need.
How to block a website in Chrome without an extension
Chrome doesn’t have a built-in “block this site” option or button, so if you prefer not to use an extension, you’ve still got a few solid workarounds.
These methods work outside Chrome itself and will prevent certain sites from loading even when no extension is installed.
- Edit your computer’s hosts file (system-level block)
- Use parental controls or supervised accounts
- SafeSearch & content filtering (lighter filtering)
- Block sites at your router or network level
Here’s how to block sites at your router or network level:
If you want to stop a site for everyone on your Wi-Fi, you can log into your router settings and use its website blocking or parental control tools.
- Find your router’s admin page (often something like 192.168.1.1).
- Log in with your credentials.
- Look for “Website Block,” “URL Filtering,” or “Parental Controls”.
- Add the URLs you want to block.
This stops access on all devices connected to that network (including Chrome) without touching the browser itself.
Why block URLs in Google Chrome?
Blocking specific URLs in Chrome isn’t just a random tech trick; it’s something a lot of people do for clear, practical reasons.
No matter if you’re trying to stay focused, protect yourself or others from harmful sites, or manage access across a group of users, blocking URLs gives you control over what can be loaded in your browser.
What happens when you block a URL in Google Chrome?
When you block a URL in Chrome (whether using tools, settings, or network rules) here’s what typically happens:
Access is prevented
Chrome simply won’t load the blocked website. Instead of letting the page load, the browser will stop the request and display an error or a blocking message. This is the core result of URL blocking! You attempt to visit the address, and Chrome stops it from opening.
Distractions and unwanted content are kept away
By stopping particular sites from loading, you won’t be pulled into time-wasting or inappropriate pages. Many people use this to stay productive or to protect family members, especially kids, from content they shouldn’t see.
Security threats are lowered
Blocking malicious or phishing URLs stops Chrome from attempting to connect to sites known for malware or risky content. Many URL filtering systems will redirect blocked requests to a warning or safe page instead of letting Chrome navigate normally.
In short, blocking a URL in Chrome changes the browsing experience at the network access level. Chrome doesn’t complete the connection to the blocked address, keeping you away from whatever page or content you don’t want to see.
Best practices for blocking URLs effectively in Chrome
When you’re blocking URLs, you want to think not just about how to block them, but also where and how well each method works. Whether it’s just in your browser, across your whole device, or even for everyone on your network.
| Method | Scope | Difficulty | Best For |
| Browser extensions (BlockSite, StayFocusd, etc.) | Chrome only | Easy | Personal use, quick setups |
| Edit hosts file | Entire computer (all browsers) | Medium | System-wide block without extensions |
| Router/network-level block | All devices on the network | Medium | Families or shared networks |
| DNS filtering (OpenDNS, CleanBrowsing, NextDNS) | All devices using that DNS | Medium | ISP-independent network-wide filtering |
| Parental controls/Family Link | Device or account level | Easy | Parents managing kids’ browsing |
| Chrome managed policies (e.g., Admin/Group Policy/JSON) | Managed environments | Advanced | Businesses, schools, large deployments |
| SafeSearch / content filters | Search results only | Very easy | Light filtering (explicit content) |
Quick tips to block URLs effectively:
✔ Combine methods: For instance, use DNS filtering at the network level plus Chrome extensions on personal devices for stronger coverage.
✔ Use strong permissions: Set passwords or admin restrictions, so others can’t easily turn off blocks (especially handy with parental controls or extensions).
✔ Test your blocks: After setting up any method, try accessing the blocked URL in Chrome to make sure the block is working as expected.
✔ Keep rules updated: Whether it’s a blocklist in a DNS service or a router, check it occasionally to remove outdated blocks or add new ones.
Wrapping up
Blocking URLs in Chrome doesn’t have to be confusing anymore. If you’re trying to stay focused, keep someone safe, manage access across devices, or set rules for an entire network, there’s a method that fits your needs.
From browser tools and system settings to DNS filtering and parental controls, this guide walked you through every practical approach you can use right now.
The goal is simple: give you control over what loads (and what doesn’t) in Chrome, so your browsing stays intentional and safe.
If you’re also looking to take complete control of the links you share, give Replug a try now! It’s a reliable link management platform and URL shortener that lets you create branded short links in seconds and track every click with ease.
Frequently asked questions

Muhammad Ahsan Jamal
