
Today, we’re here with another guide, showing you how to create a workspace in Replug.
Replug’s workspace feature makes it super easy to keep everything organized. You can manage links, retargeting pixels, CTA campaigns, and team members, all in one place, without any mix-ups.
Each workspace acts like a separate space for a brand or project, so you stay focused and clutter-free. In this guide, we’ll show you how to create a workspace in just a few easy steps. Let’s get started!
Also read: The ultimate guide to shorten URLs with Replug

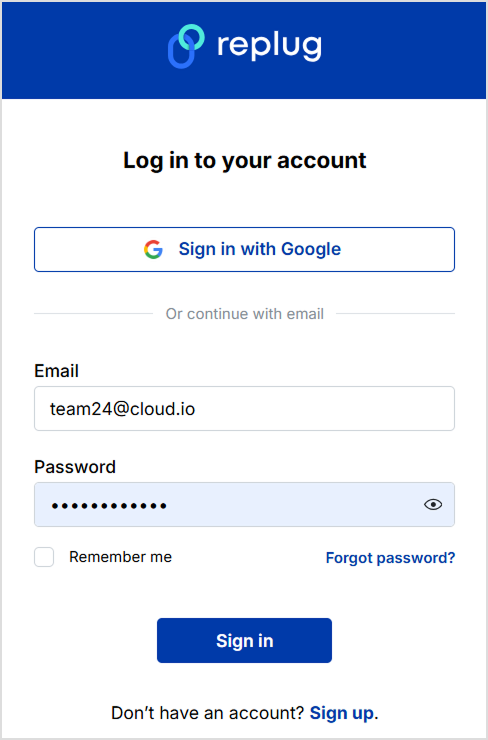
Step 1: Log in to your Replug account
- Go to Replug.io and sign in with your email and password. If you don’t have an account yet, sign up for free to get started.
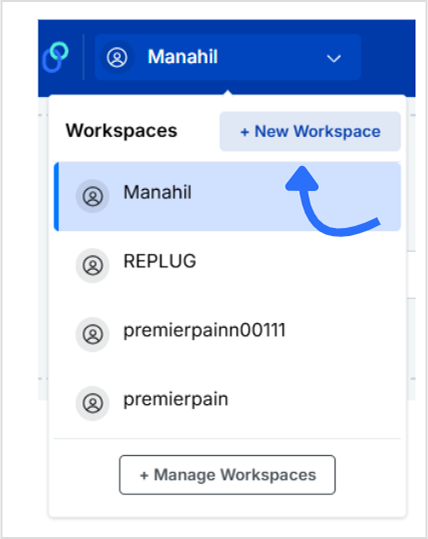
Step 2: Navigate to workspace settings
- From the top bar, click on the “Workspaces” tab, it is located on the left side of the navigation bar.
- Here, you’ll see a list of your current workspaces (if you’ve created any before).
- To add a new one, click the “+ Create new workspace” button.
Step 3: Add your workspace details
Fill in the following details:
- Workspace name (e.g., “Client A” or “Client B”)
- Website URL
- Brand logo (optional, but adds a professional touch)
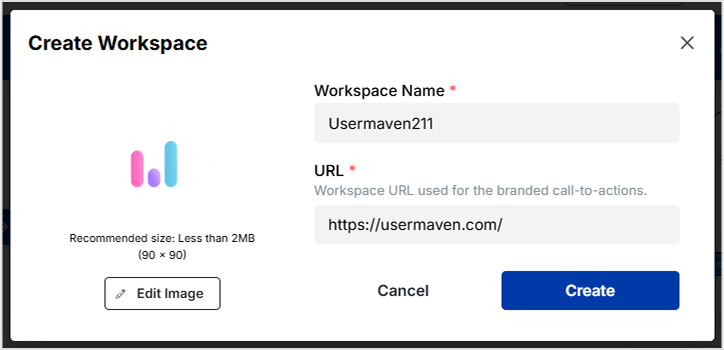
Once done, hit the “Create” button. Your new workspace will now appear in your dashboard.
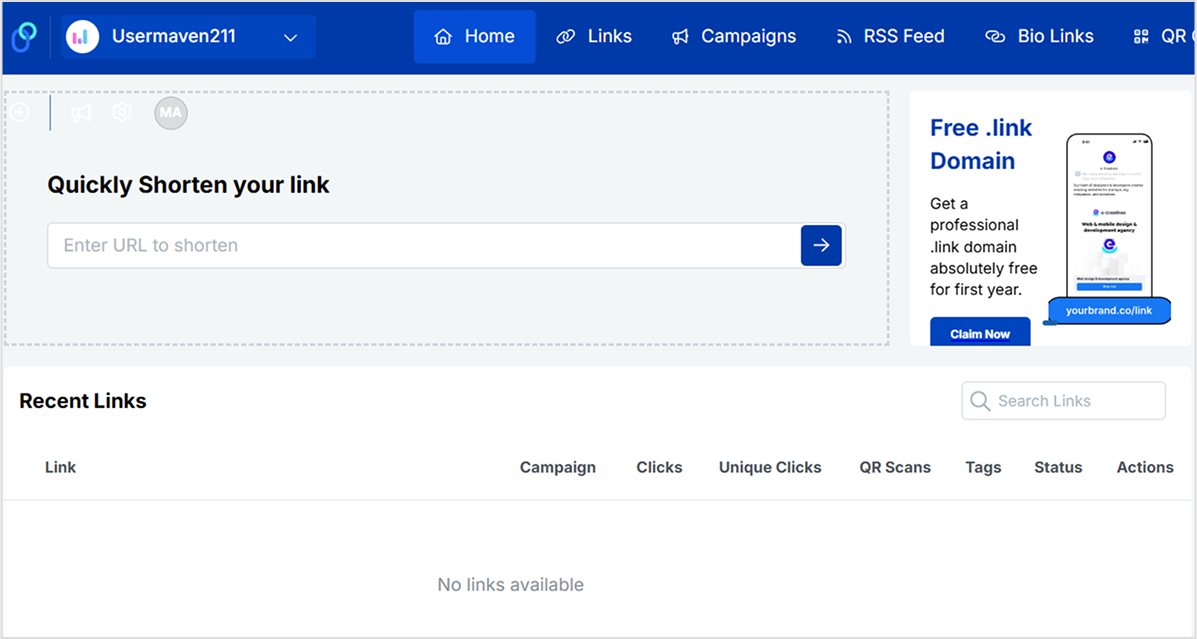
You’re all set!
Now you have a fresh workspace where you can:
- Manage and track branded links with full control.
- Set up retargeting pixels to boost your ad performance.
- Create high-converting CTA campaigns in just a few clicks.
- Generate and customize QR codes for online and offline use.
- Cloak long or affiliate URLs to make them short, clean, and on-brand.
- Customize how your links appear on social platforms using the link preview editor.
- Route traffic smartly based on country, device type, or time of day.
- Build individual bio-link pages tailored to each brand or client.
Also read: Bitly vs Rebrandly vs Replug
Invite team members (optional)
After creating your workspace, you can:
- Add team members with different roles (admin, editor, viewer)
- Grant access to only this specific workspace, great for clients or departments
Why use multiple workspaces?
- Client separation: Avoid mixing links, campaigns, and analytics across different clients.
- Team permissions: Assign specific access levels and keep internal processes secure.
- Cleaner dashboard: Stay organized with clearly labeled, focused workspaces.
- Scalability: Easily handle multiple projects, brands, or departments under one Replug account.
Final thoughts
Creating a workspace in Replug takes just a minute, but can massively improve how you manage your marketing tasks. Whether you’re running a solo project or handling multiple clients, workspaces keep things simple, secure, and scalable.
Besides, when paired with a reliable short URL shortener
, your workspaces become even more powerful, helping you organize, track, and optimize every campaign with ease.
FAQs on Replug workspace

Manahil
