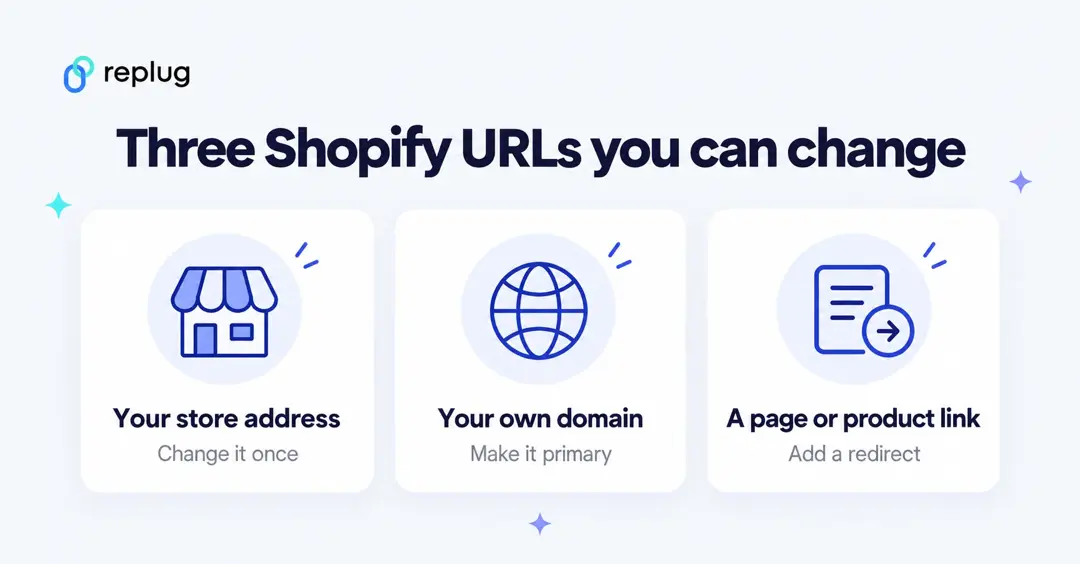
To change your Shopify URL, go to Settings > Domains in your Shopify admin. There you can pick a new your-store.myshopify.com name (Shopify allows this only once), or add your own domain, such as ellis-coffee.com, and set it as your primary domain so customers see it instead. To change the address of a single page or product, edit its URL and add a URL redirect from the old one. Changing your store name alone doesn’t change any URL.
Below are the steps for each from the Shopify Help Center (checked October 2026), what happens to your old links, and how to share a short, readable store link on social media.
What is your Shopify URL?
- Your myshopify.com domain: when you sign up, Shopify assigns an automatically generated address such as
1a2b3c4-5.myshopify.com. It identifies your store, is part of your admin URL (admin.shopify.com/store/…) and is your primary domain by default (Shopify Help Center). - Your primary domain: the domain customers see in the address bar. It can be your myshopify.com domain or a custom domain you add (Shopify Help Center).
- Page and product URLs: the path after the domain, such as
/products/fall-house-blend.
How to change your myshopify.com URL
You can choose a new myshopify.com name for free, but only one time from your Shopify admin. On desktop:
- From your Shopify admin, go to Settings > Domains.
- On the Domains page, hover over your myshopify.com domain and click the pencil icon.
- Enter a new name, then click Add domain.
According to the Shopify Help Center, the new myshopify.com domain automatically becomes your primary domain, the previous one automatically redirects to it, and your admin URL changes too (for example, admin.shopify.com/store/ellis-coffee). Shopify also notes that you and your staff still use the previous myshopify.com domain to log in and when you contact Shopify Support, so write it down. Dev stores created from the Dev Dashboard or Shopify CLI can’t choose a new myshopify.com name.
How to change your Shopify URL to your own domain
If you want a web address without “myshopify” in it, add a custom domain. Shopify gives three ways to do it (Adding a domain to Shopify):
- Buy a domain through Shopify. If it’s the first domain you add, it becomes the address customers see automatically.
- Connect a domain you already own from a third-party provider, which you keep managing and renewing there.
- Transfer a domain to Shopify so you manage its settings from your Shopify admin.
You can add up to 20 domains or subdomains (1,000 on Shopify Plus), and Shopify creates a free TLS certificate for each. A connected domain can take up to 48 hours to show a Connected status. Then set it as primary (Change your primary domain):
- From your Shopify admin, go to Settings > Domains.
- Click the domain you want to make primary.
- In the Type row, click Change.
- In the Change domain type dialog, select Primary domain.
- Click Change domain type to save.
The domain that was primary before becomes a redirect domain, so visitors who use it, including your old myshopify.com address, are sent to the new primary domain. If you sell in several markets with international domains or subfolders, read Shopify’s considerations first: the market on your primary domain changes with it.
Changing your store name doesn’t change your URL
Your store name is the name shown on your website. To change it, go to Settings > General, click your store name in Store contact details, edit the Store name field and click Save. Shopify notes that changing the store name doesn’t change your myshopify.com domain, and that if you use Shopify Payments you also need to contact Shopify Support to change the business name on that account (Shopify Help Center).
How to change a page or product URL and keep old links working
If you change the URL of a page, product or collection, links people already shared will break unless you redirect them. To create a URL redirect, according to Shopify Help Center:
- From your Shopify admin, go to Content > Menus.
- Click View URL Redirects.
- Click Create URL redirect.
- In Redirect from, enter the old URL.
- In Redirect to, enter the new URL (use
/for your home page). - Click Save redirect.
Redirects work immediately, but only from broken URLs: if the old URL still loads a page, the redirect won’t work. You can’t redirect URLs beginning with /apps, /application, /cart, /carts, /orders, /services or /shop, or the fixed paths /products, /collections and /collections/all. Stores can create up to 100,000 redirects (20,000,000 on Plus). For how redirects work in general, see how to redirect a URL to another URL.
How to share a short Shopify URL on social media
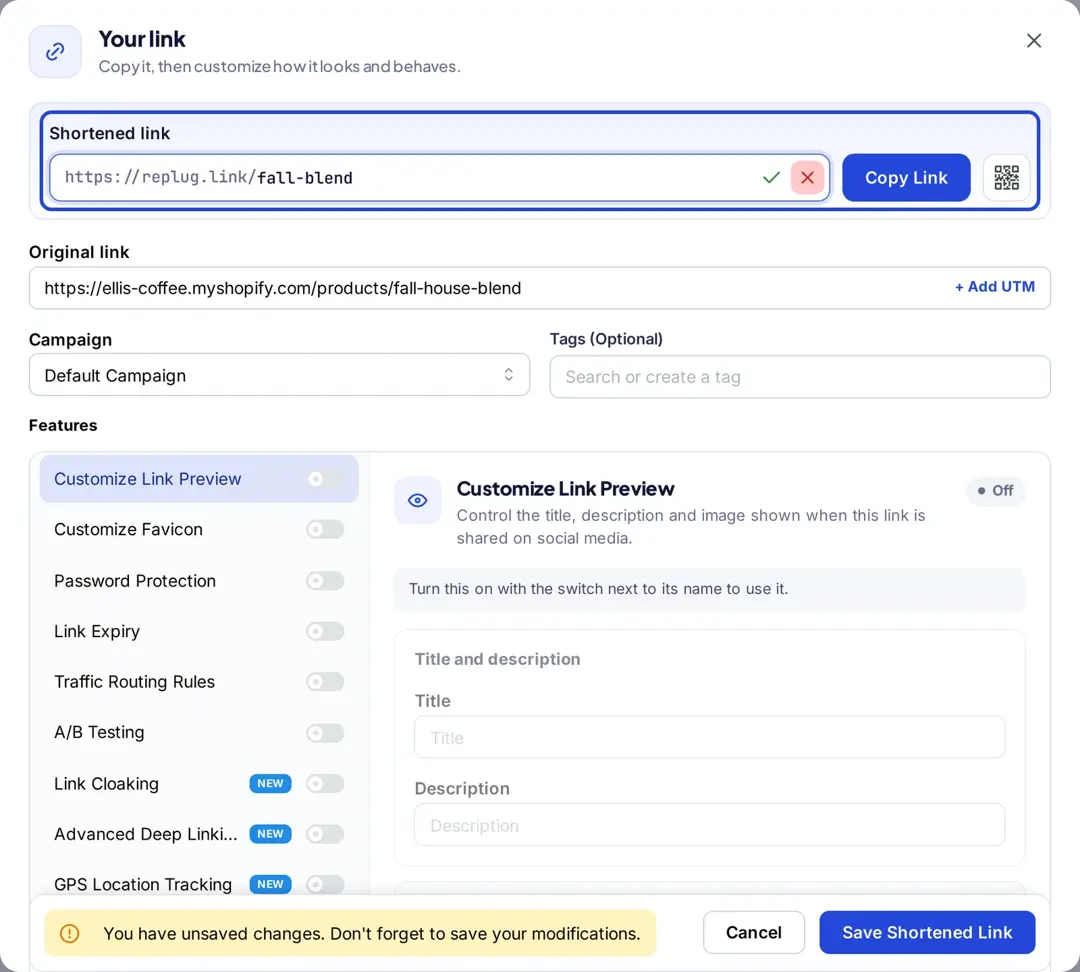
A product URL with a myshopify domain is long and hard to read in a bio or a caption. A short link points to the same page but is easier to share and shows how many people clicked it. Here’s how with Replug’s link shortener:
Step 1: Sign in to Replug or create a free account.
Step 2: On Home, paste your Shopify store or product URL into the shorten box and click Shorten.

Step 3: In the Your link dialog, click the pencil next to the short link to change the back-half to something readable, such as replug.link/fall-blend, then click Save Shortened Link. Custom back-halves start on Essentials; on Free the back-half is generated automatically, according to Replug’s pricing.
[branded_short_links]
Short links use replug.link by default. You can connect your own short domain on any plan, including Free (pricing), so the link carries your brand; see how to add a custom domain to Replug. Changing where a short link points after you share it is on Scale and Agency; on Free and Essentials the destination stays the one you set, so if you later change a product URL in Shopify, the redirect you created there keeps the short link working.
Read also: Add a Shopify link to your TikTok bio in 5 minutes
FAQs

Arslan Jadoon