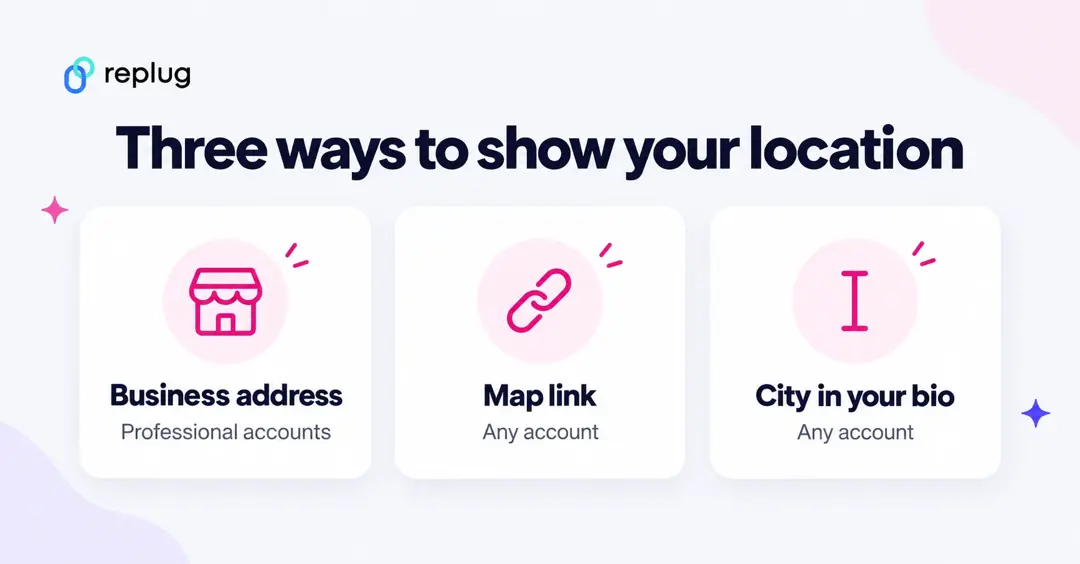
Instagram doesn’t have a separate “location” field for every profile, so there are three ways to put a location in your Instagram bio. A business or creator (professional) account can add a business address to its contact info. Any account can add a Google Maps link as one of its up to five profile links. And anyone can type their city or neighborhood into the 150-character bio. All three are done from Edit profile in the Instagram app.
Below are the steps for each, based on Instagram’s Help Center (checked October 2026), plus how to tag a location on a post and how to show an address, a map and your other links on one bio page.
Option 1: Add a business address to a professional account
If you run a café, shop or studio, this is the cleanest option. Professional accounts can edit their business category and contact information right in the app, according to Instagram Help:
- Go to your professional account and tap Edit profile.
- Under Public business information, open the business contact info and add your address (and phone or email if you want).
- To choose whether the contact info shows on your profile, go to Profile display under Public business information.
- Tap Done (iPhone) or the check mark (Android) to save.
You must be using a professional account to edit business information. To switch, go to your profile, tap More (the three lines) to open Settings and activity, tap Account type and tools under For professionals, then Switch to professional account and choose Business or Creator (Instagram Help). If your personal account is private, switching makes it public.
Show your business on the Instagram map
A contact address on your profile isn’t the same as a place people can tag. Instagram says that to have your business location appear on the Instagram Map and become taggable in posts and stories, you edit the address on your Facebook Page and connect your Instagram account to that Page; the location shows up within 48 hours (Instagram Help). New locations can’t be created from Instagram itself (Instagram Help).
Option 2: Add a Google Maps location link to your Instagram bio
This works on personal and professional accounts, because every profile can add up to 5 websites (Instagram Help). Anyone, on or off Instagram, can see these links.
Copy the location link from Google Maps
- Open the Google Maps app on your phone.
- Search for the place or touch and hold the map to drop a pin.
- At the bottom, tap the place’s name or address.
- Tap Share, then copy the link (or choose an app to share it).
Steps from Google Maps Help. If your business has a Google Maps listing, share that listing rather than a dropped pin, so people see your name, hours and directions.
Add the link to your Instagram profile
- Tap Profile or your profile picture in the bottom right to go to your profile.
- Tap Edit profile at the top of the screen.
- Tap Links, then Add external link, and paste the Google Maps link. Give it a title people understand, like “Find our Austin café”.
- Tap Done, then go back to your profile.
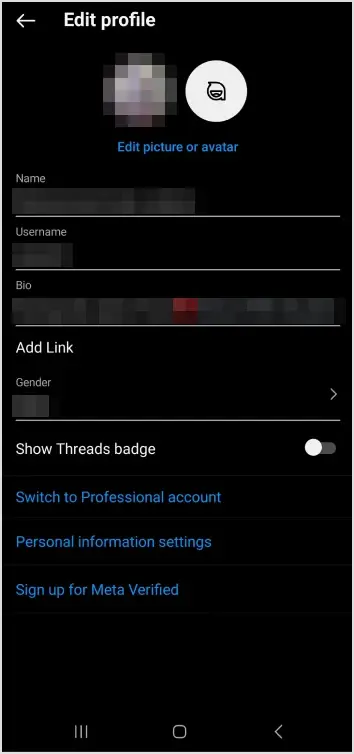
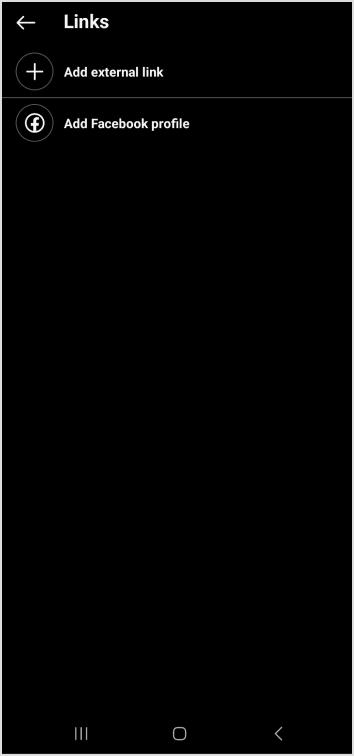
Steps from Instagram Help. If you have more than one link, you can reorder them: Edit profile → Links → Options → Reorder links. Google Maps links are long; a short link with your own name in it is easier to read and lets you count taps.
Option 3: Write your city in your Instagram bio
The simplest option: type your city, neighborhood or service area into your bio, for example “📍 South Congress, Austin TX”. To edit it, go to your profile, tap Edit profile, tap Bio, write your text and tap Done. Your bio can be up to 150 characters and anyone can see it (Instagram Help). For more on limits, see the Instagram bio character limit, and for wording ideas, how to change your bio on Instagram.
Text in a bio isn’t clickable, so pair it with a map link (Option 2) if you want people to get directions in one tap.
How to add a location to an Instagram post
Tagging a location on a post is a different feature from your bio, but people often mean this. After you pick a photo or video and add any edits:
- Tap Add location.
- Find your location in the suggestions or search for it, and select it.
- Tap Share.
Steps from Instagram Help. When people tap the location, they see your post and other public posts tagged there on the Instagram map. You can also add or edit the location of a post you’ve already shared.
Also read: How to sell on Instagram: Top 10 strategies for success
How to show your address, map and other links on one bio page
Instagram’s 5 profile links are enough for many accounts. If you want one link that holds your address, a map, your menu or booking page and your social profiles, a bio page does that. Replug’s Instagram link in bio tool builds one; the Free plan includes 2 bio links, according to Replug’s pricing. For other ways to add multiple links, see that guide.
Here’s how to add your location and links to a bio page with Replug:
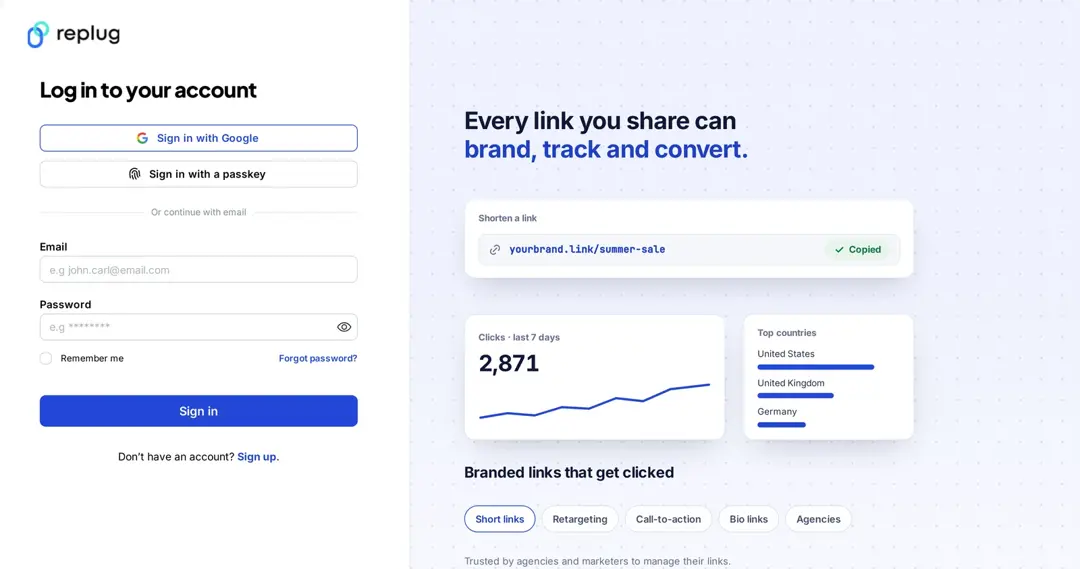
Step 1: Sign in to Replug or create a free account.
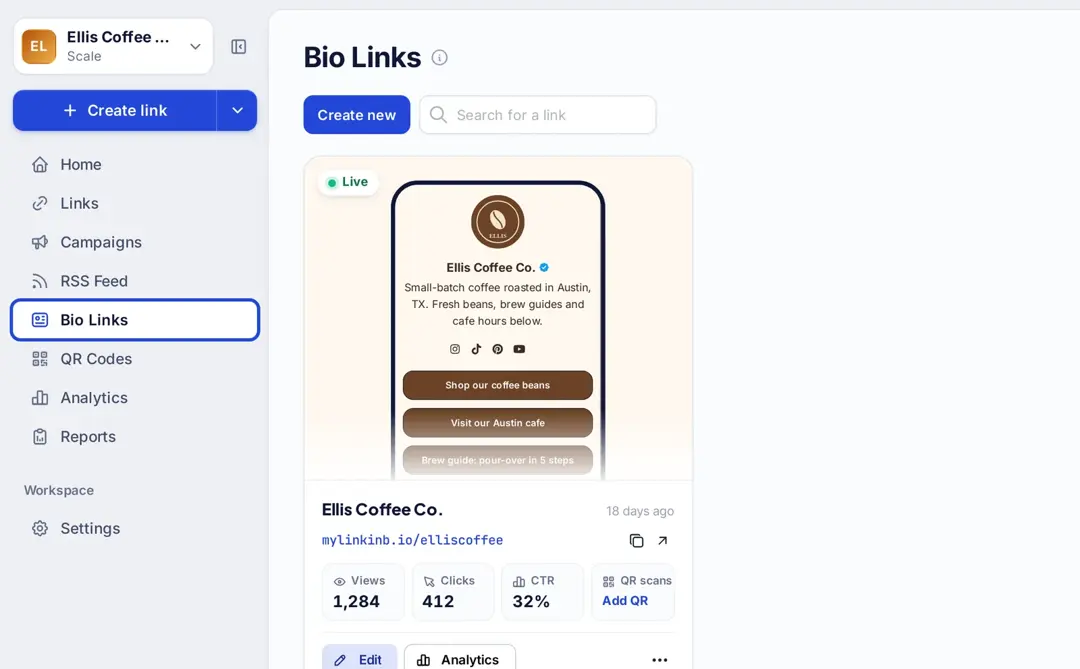
Step 2: Click Bio Links in the left sidebar.
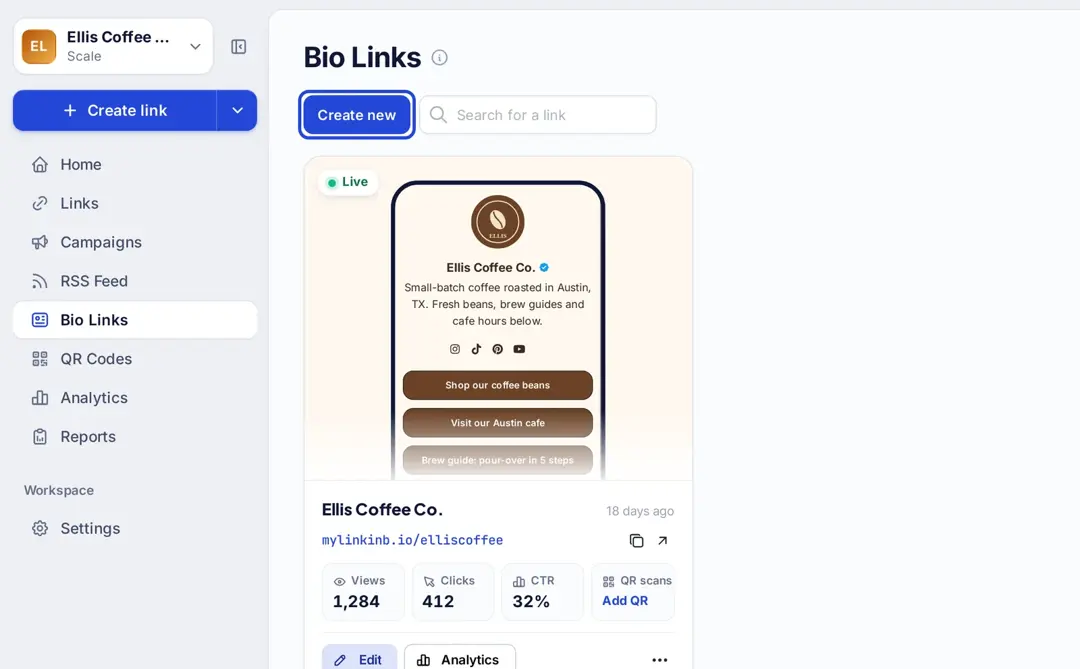
Step 3: Click Create new, then pick a template or start from a blank page.
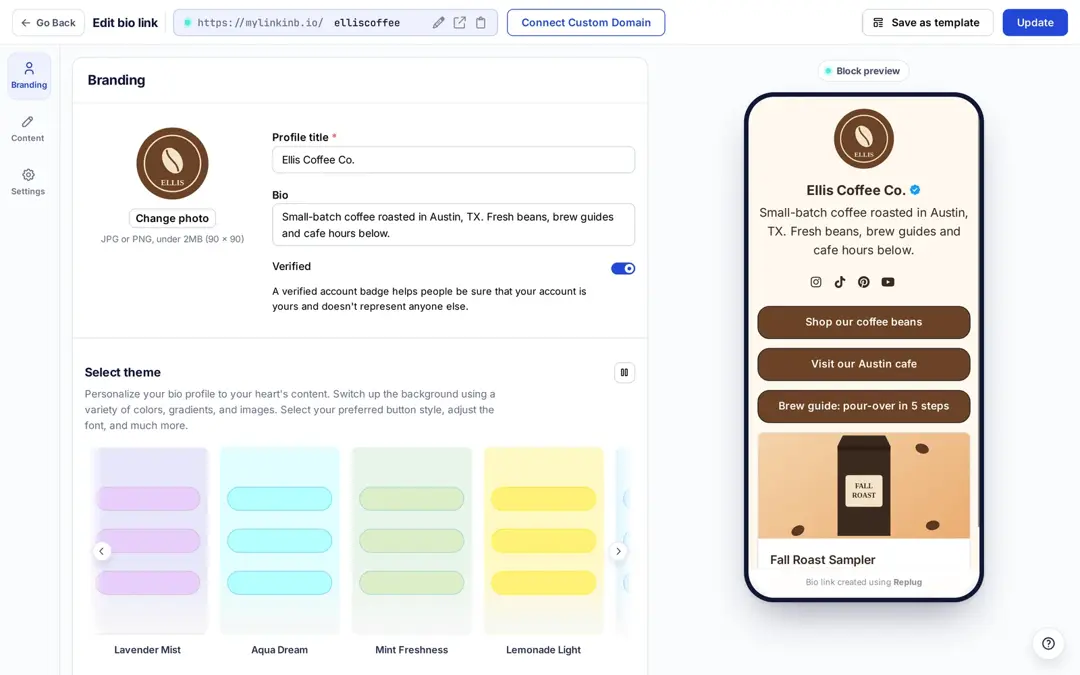
Step 4: On the Branding tab, add your photo, name and bio, and pick a theme, colors and button style. Click Publish at the top right to save the page; after that the button changes to Update.
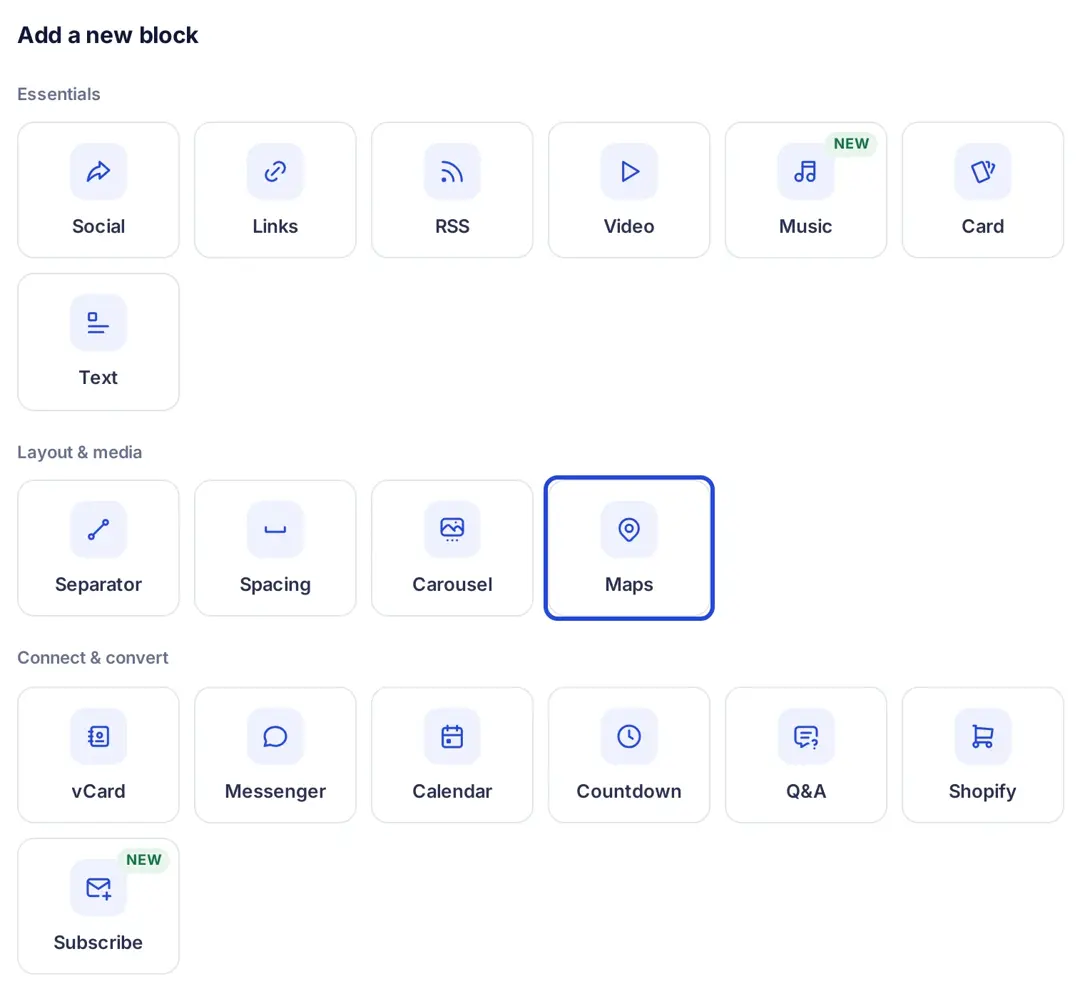
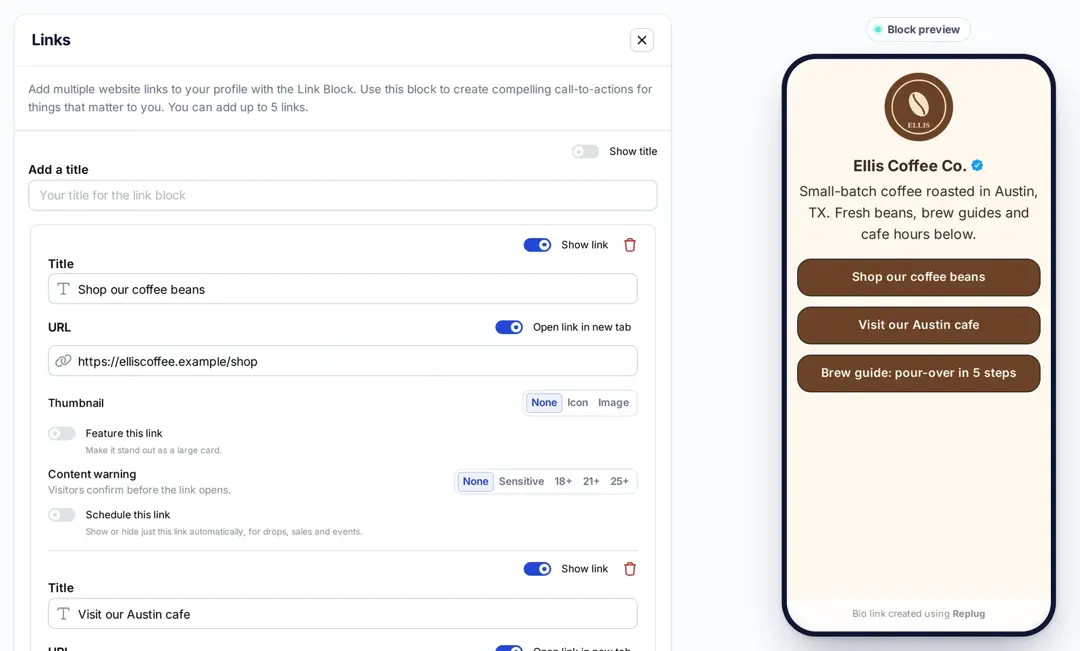
Step 5: Open Content and add blocks. For a location, choose the Maps block, which displays your place on an interactive map; you can search for the place or paste a Google Maps link. The Maps block isn’t included on every plan, and the editor shows an upgrade prompt if yours doesn’t include it. You can also add a Links block with a “Get directions” button that opens Google Maps, plus social icons, video, cards and more.
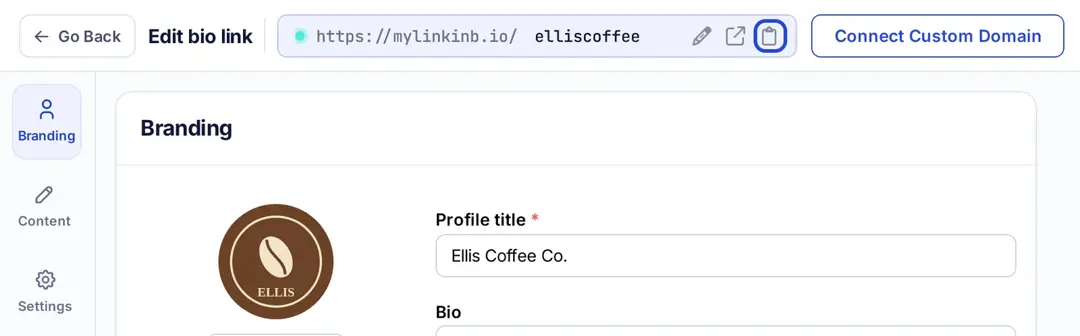
Step 6: Click Update to save, copy your bio link from the URL bar at the top and add it to your Instagram profile with the steps in Option 2. In Settings you can also add an SEO title and description and, on paid plans, retargeting pixels.
FAQs on Instagram bio

Arslan Jadoon